mv

DETAILS

WAZA / KIWAMI / TAKUMI
DETAILS

Compressive Residual Stress

Product Summary

  • Residual stress is important factor for fatigue strength of material, stress corrosion cracking and also Fretting fatigue.
  • Toyo Seiko is available not only for the measurement of the residual stress but also submitting the best solution for the fatigue strength as a professional company of Shot Peening.
  • In General, residual stress evaluation could work well for the solution against the deformation, crack which comes from heat treatment.
  • Further the harmful tensile residual stress by heat treatment and machining could also be measured by X-ray diffractometer.
  • Toyo Seiko would measure residual stress and retained austenite by X-ray diffractometer with the plenty of acknowledgement.


Machine Type

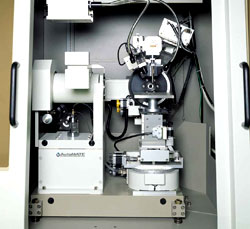
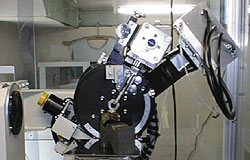
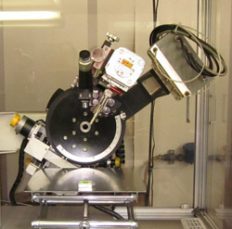
  • Rigaku X-ray stress analyzer (PSPC, Auto MATE)
Fig 1 PSPC Fig 2 AutoMATE


Measurment service

  • XRD (X-ray diffraction)
    – Compressive residual stress inspection (2θ-sin2ψ method)
    – Retained austenite inspection
  • Other inspection
    – Hardness inspection
    – Surface roughness inspection
  • Tube list and Measuring object material
    – We have wide variety of tubes. Please see Table 1.

Table 1

Tube Measuring object material
Cr steel, copper, brass, tin, nickel, carbide, chromium nitride, Ti-Ni shape memory alloy, aluminum oxide
Cu zirconium oxide, α titanium
V Magnesium, β titanium

*We also have Cobalt (Co) tube.


  • Collimator (radiated area) size
    We have collimator listed in table 2.

Table2

4mm
2mm
1mm
0.5mm
0.3mm
0.15mm

Characteristics

  1. It is possible to measure a very small area by setting the beam diameter of the X-ray equipment to 150 μm.
  2. It is important to understand the depth distribution in order to evaluate residual stress. We measure the residual stress distribution (up to a depth of about 3 mm) by electrolytic polishing. (* It may not be possible to measure depending on the measurement position and shape of the parts)
  3. In addition to steel materials, measurement of various alloys such as aluminum, nickel, titanium, zirconia, copper, carbide, TiNi shape memory alloy, etc. It is also possible to measure some ceramics.
  4. We also accept micro Vickers hardness (depth direction distribution) measurement (ASTM E384 compliant) and roughness measurement (JIS B0601:’01 compliant).


Application

  • In the case of using shot with a hardness of HV800 or more, the maximum compressive residual
    stress value turns out to be approx 2 times larger compared with Shot of HV520 hardness.


CONTACT